

How to clone your Private Git Repository and Deploy on Digitalocean your Node js Application with Nginx & SSL
Steps to deploy a Node.js app to DigitalOcean using PM2, NGINX as a reverse proxy and an SSL from LetsEncrypt


Table of contents
- 1. Sign up for Digital Ocean
- 2. Create a droplet and log in via password
- 3. Install Node/NPM
- 4. Clone your private repository from GitHub to Server
- 5. Install dependencies and test app
- 6. Setup PM2 process manager to keep your app running
- 7. Setup ufw firewall
- 8. Add domain in Digital Ocean
- 9. Install NGINX and configure
- 10. Add SSL with LetsEncrypt
1. Sign up for Digital Ocean
2. Create a droplet and log in via password
- After logging in or successfully signing up for a new account, open the “Create” drop-down menu and click the “Droplets” link.
- On the Create Droplets page, select the Ubuntu operating system. And choose the $5/month plan, which will give us plenty of computing power to start with.
- There are a few more options on that page to fill out.
When it comes to the Authentication section, don’t set-up any SSH keys , Create a root password to access Droplet (less secure).
- When you’re done selecting options, hit the Create Droplet button. then the Droplet is fully up and running, the control panel will display it’s IP address.
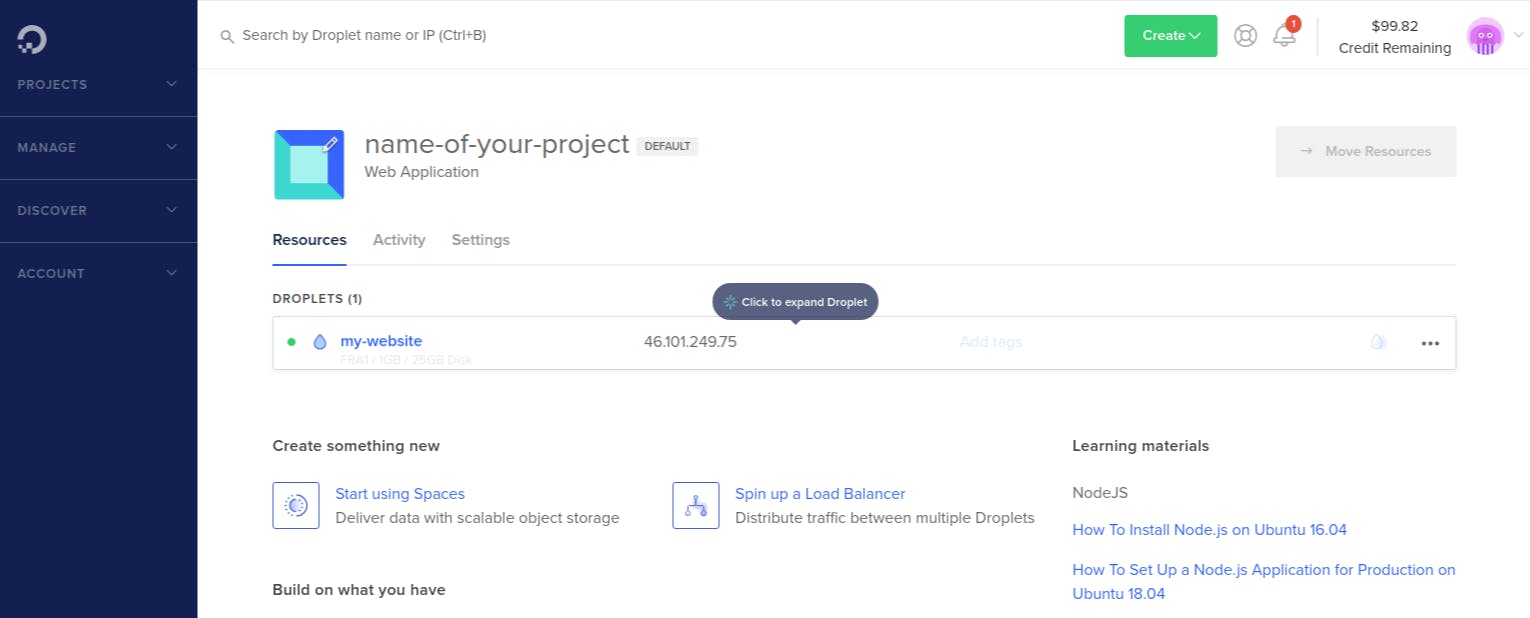
Your server is now set up and running!
- Root Login
To set-up server, you’ll need both the IP address of the server and the private key (password) for the Root user's account.
To log into your server, open a terminal (Ctrl+Alt+T for Linux) on your local machine.
ssh root@server_ip_address
Accept the warning about host authenticity, if it appears, and provide your root password.
3. Install Node/NPM
curl -sL https://deb.nodesource.com/setup_16.x | sudo -E bash -
sudo apt install nodejs
node --version
4. Clone your private repository from GitHub to Server
- connect to your server (Droplet) and generate SSH key
sudo ssh-keygen
If you want, choose path and name for your key. I always use default path (~/.ssh) and name, like id_rsa.
- create SSH config
sudo cat >~/.ssh/config <<EOL

Host project_name
Hostname github.com
User git
IdentityFile ~/.ssh/id_rsa
EOL
- Copy public key to clipboard and go to your GitHub repository settings
sudo cat ~/.ssh/id_rsa.pub
- Add copied public key to
Deploy Keyssection and Don't forget to checkAllow write access.

😊 Let’s clone it (inside the /root/home Directory)
$ pwd
/root/home
sudo git clone project_name:<user>/<repo>.git
How to update?
For update, type into your project directory:
git pull
5. Install dependencies and test app
cd yourproject
npm install
npm start #(or whatever your start command)
# stop app
ctrl+C
6. Setup PM2 process manager to keep your app running
sudo npm i pm2 -g
pm2 start app.js #(or whatever your file name)

# Other pm2 commands
pm2 show app
pm2 status
pm2 restart app
pm2 stop app
#(Show log stream)
pm2 logs
#(Clear logs)
pm2 flush

# To make sure app starts when reboot
pm2 startup ubuntu
You should now be able to access your app using your IP and port. Now we want to setup a firewall blocking that port and setup NGINX as a reverse proxy so we can access it directly using port 80 (HTTP).
7. Setup ufw firewall
sudo ufw enable
sudo ufw status
# Port 22
sudo ufw allow ssh
# Port 80
sudo ufw allow HTTP
 # Port 443
sudo ufw allow HTTPS
8. Add domain in Digital Ocean
In Digital Ocean, go to networking and add a domain to droplet.
9. Install NGINX and configure
sudo apt install nginx

sudo nano /etc/nginx/sites-available/default
Add the following to the location part of the server block
server_name yourdomain.com;
    location / {
        proxy_pass http://localhost:3000; #whatever port your app runs on
        proxy_http_version 1.1;
        proxy_set_header Upgrade $http_upgrade;
        proxy_set_header Connection 'upgrade';
        proxy_set_header Host $host;
        proxy_cache_bypass $http_upgrade;
    }
Then check and restart Nginx
# Check NGINX config
sudo nginx -t

# Restart NGINX
sudo service nginx restart
10. Add SSL with LetsEncrypt
# Ubuntu 18.04
sudo add-apt-repository ppa:certbot/certbot
sudo apt-get update
sudo apt-get install python-certbot-nginx

# Ubuntu 20.04
sudo apt install certbot python3-certbot-nginx

sudo certbot --nginx -d yourdomain.com

# Only valid for 90 days, test the renewal process with
certbot renew --dry-run
Now visit yourdomain.com and you should see your Node app.
😊😊😊😊😊Thank You😊😊😊😊😊